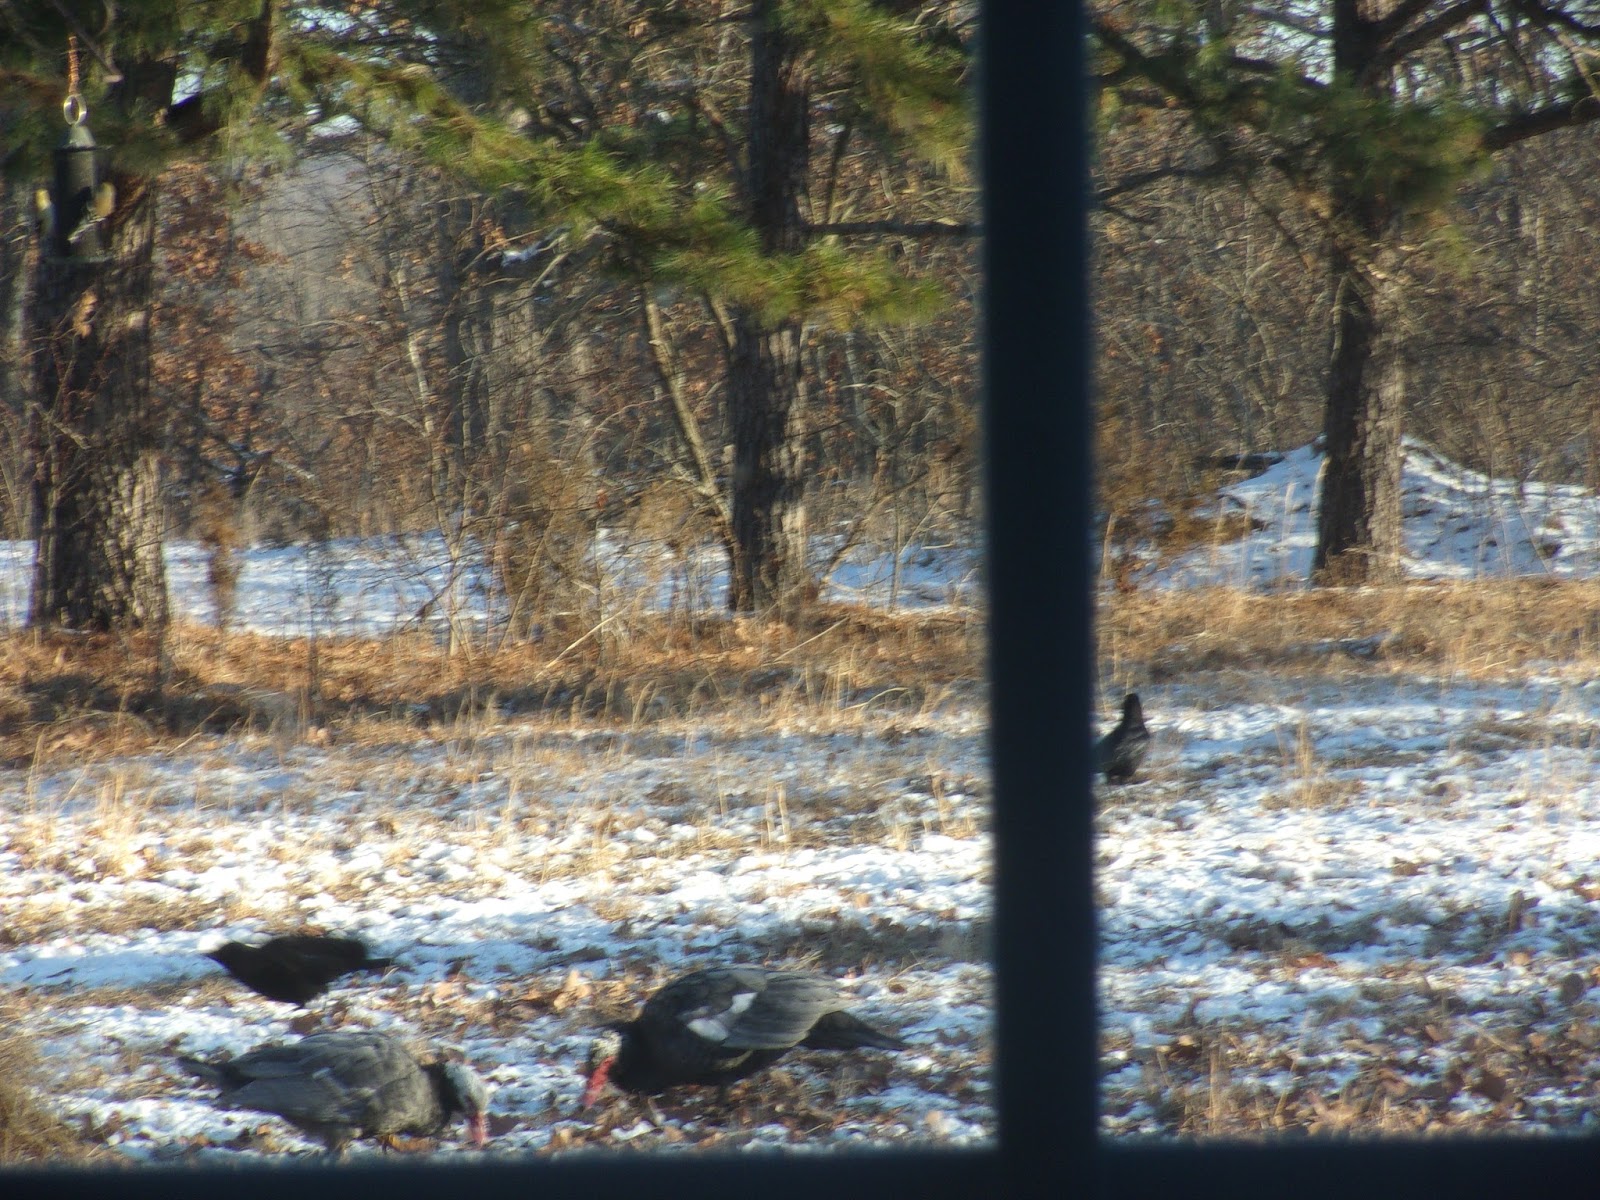
I really enjoy the crows when they visit.
I read through my new Fabric Art Journal book this morning, I also browsed around the internet and Pinterest a bit too. For binding the book I am liking the stitch coptic bound method the best so far. There is also one I found online that I love but have not quite figured it out yet-I am slow at figuring things out like this see here I am quite inspired with her work so I started following her-and her latest post is amazing what she made for 2017
I was quite pleased how the wool fabric worked out for cutting-very little if any waste-the last piece I could use to tie the book too perhaps. I decided easiest to cut on the floor-my chalk pencil worked out perfect for marking across the width of fabric. Then I just cut that piece in half for the pages. I didn't choose to cut the selvages off so gave me a wider page and no waste.


The strips were cut at 13 inches high and then when folded in half to make the pages are 9 inches wide. I will be embroidering or embellishing all the wool edges.
My question and what I have not read about anywhere-is how do you cover the back of each page from the stitches made on the front of the page?
I may just use the fabric like I used with the handmade paper piece and match the size fabric on the back side and stitch them together hope that all made sense any ideas??
Or does one make a page entry on the front, and then flip it over to the back and then embroidery the edges together which would hide the stitches? that idea just came to me while writing this lol
So I need some tips, methods for this part of the journal so any suggestions of what you have done or can think of would be helpful.
Hoping the weather is warmer for all of you as well.
Enjoy your day
Oh and I have another question those of you that have used stamps on fabrics what brand of ink pads would you suggest thanks
Those crows are happy -
ReplyDeleteand I am happy that you share your project - so I get an idea how to make a fabric book .
I have no experiences, but I would think that you just decorate each third page and sew two pages back to back together in the end - or does this make no sense?
Or you decorate an extra fabric of the size of each page and sew it on just on the edges?!
Maybe you get help from a person who has more experiences.
I will check out the link now as well!
Thank you Kathy!
oxo Susi
This is my first attempt with a fabric book-I am thinking now that I am going to stitch on the top of the folded page-leave the two inside blank, and stitch on the back of this folded piece-perhaps put some quilt batting inside and then embroider around the edges-that seems like a good way to do it-kinda like a sandwich lol
DeleteWhen I have made books using paper, but don't want the writing to show on the back, I use a French fold. Like this:
ReplyDeletehttp://www.mprinting.com/folding_french.html
Here is how I THINK she did it. She made a single entry (decorated) with two lines in between what I am calling the left and right side of a single page. Then she made and decorated another single entry with two lines in between for a second right and left side. She placed the back of left side of the first page to the back of the right side of the second page and stitched the two together. The half inch in between is so there is room for the pages to lie flat. ONLY the front inside and back inside are sewn to the covers. The rest are sewn together two by two. The pages do NOT get sewn together in the spine area.
ReplyDeleteIn one book she ironed in a stablizer. She cautioned that the edges of BOTH pages (the two back to back pages) must line up exactly, or the book will be off. Not sure I made much more sense than she did, but I wish I lived closer. I could then show you what I am sure she did.
What CJ showed you is not what she did.
So glad it warmed up a bit in your area. It's still quite cold here, but I heard it is now above freezing for the first time in days, even though the wind chills are still below freezing. Stay warm, dear.
Didn't see your question on stamping on fabric. The ONLY ink I use on fabric is Staz-on. It is waterproof and comes in a variety of colors. I suggest buying ONE black ink pad and getting colored reinkers. You can make your own stamp pads using baby wipes for the other colors. You should ask Johanna on Tuesday what stamp pads she uses on her fabric art.
ReplyDeleteOK, I did some investigating on her blog and went to this post:
ReplyDeletehttp://millionlittlestitches.blogspot.com/2009/10/take-it-further-fiber-book.html
Ignore her sugar beads and go to the third photo where she flips through the pages. The pages she shows are April (http://millionlittlestitches.blogspot.com/2008/04/april-tif-is-now-complete.html) which is sewn to May (http://millionlittlestitches.blogspot.com/2008/05/may-tif-is-now-complete.html). Note that in the individual pages, they are not sewn together. The stitch she sews them together with is what you see at the end. I think she called it the blanket stitch and it's how the two pages are joined together. You can see she sewed the right side of April to the left side of May. I hope that makes sense now. It was how I tried to describe it before, but lacked the photos to do so. I fear I'm more a visual learner, and I hope this clears up any confusion you might have as to how she puts the book together. REMEMBER, the black lines running between the two sides are running stitches.
When I've done a fabric book I have done it by either using that fabric/ glue interfacing that binds the 2 pieces of fabric together-like Thermabond or heat-n-bond. The other way I do it is by sewing my piece onto the fabric, and then taking 2 pages of my fabric book and then sewing them together. That way the 2 sewn backs are facing each other on the inside of the page. It makes the pages thicker because they are made from 2 pieces of cloth, but then you can do cool stitching. Hope that makes sense, and I can't wait to see what your book looks like. hugs-Erika
ReplyDeleteHi Erika, yes this is what I am thinking of doing-but sewing together not glueing--how did you bind your book then? thanks
DeleteThis is so neat! I can't wait to see it when it is completed. I love it when stitching show through to the back of the page. I did what Erika said. I stitched the individual pages onto one piece of fabric and then sewed the two pieces together. I used decorative stitching to sew the two pieces together. I then stitched all the pages down the center for the binding.
ReplyDeleteI hope you figure out the binding. It can take a lot of thought but it will be wonderful when it is done.
Kate
No experience at all with this so I'll just be standing by observing in case I decide to do something in the future :) Lovely weather here today and we had a Bald Eagle in the woods behind the house!!!!
ReplyDeleteI'm very much looking forward to seeing how your book progresses. When stamping on fabric I always use Archival ink. Have a fun weekend, hugs, Valerie
ReplyDeletethank you
ReplyDeleteThat material is just perfect! I have never done a book like that, so I can't help you. Perhaps when your new book arrives there will be something in it to help you...
ReplyDeleteHave a fun weekend,
Take care,Lisca