Showing posts with label black walnut as watercolor. Show all posts

Tuesday, November 9, 2021

Black Walnut Ink-Finished it up Today & a Journal Page

  Sunday late I grabbed a dye pot filled it up 3/4's full of black walnuts whole with the husks that were black, and also just the husks that were black. These were fresh from the big pile of nuts I had collected.  

  Monday I set up the big Weber grill with a big pot-old from water bath canning now a dye pot, and simmered it from early morning til late afternoon. I used a whole bag of charcoal in the process.

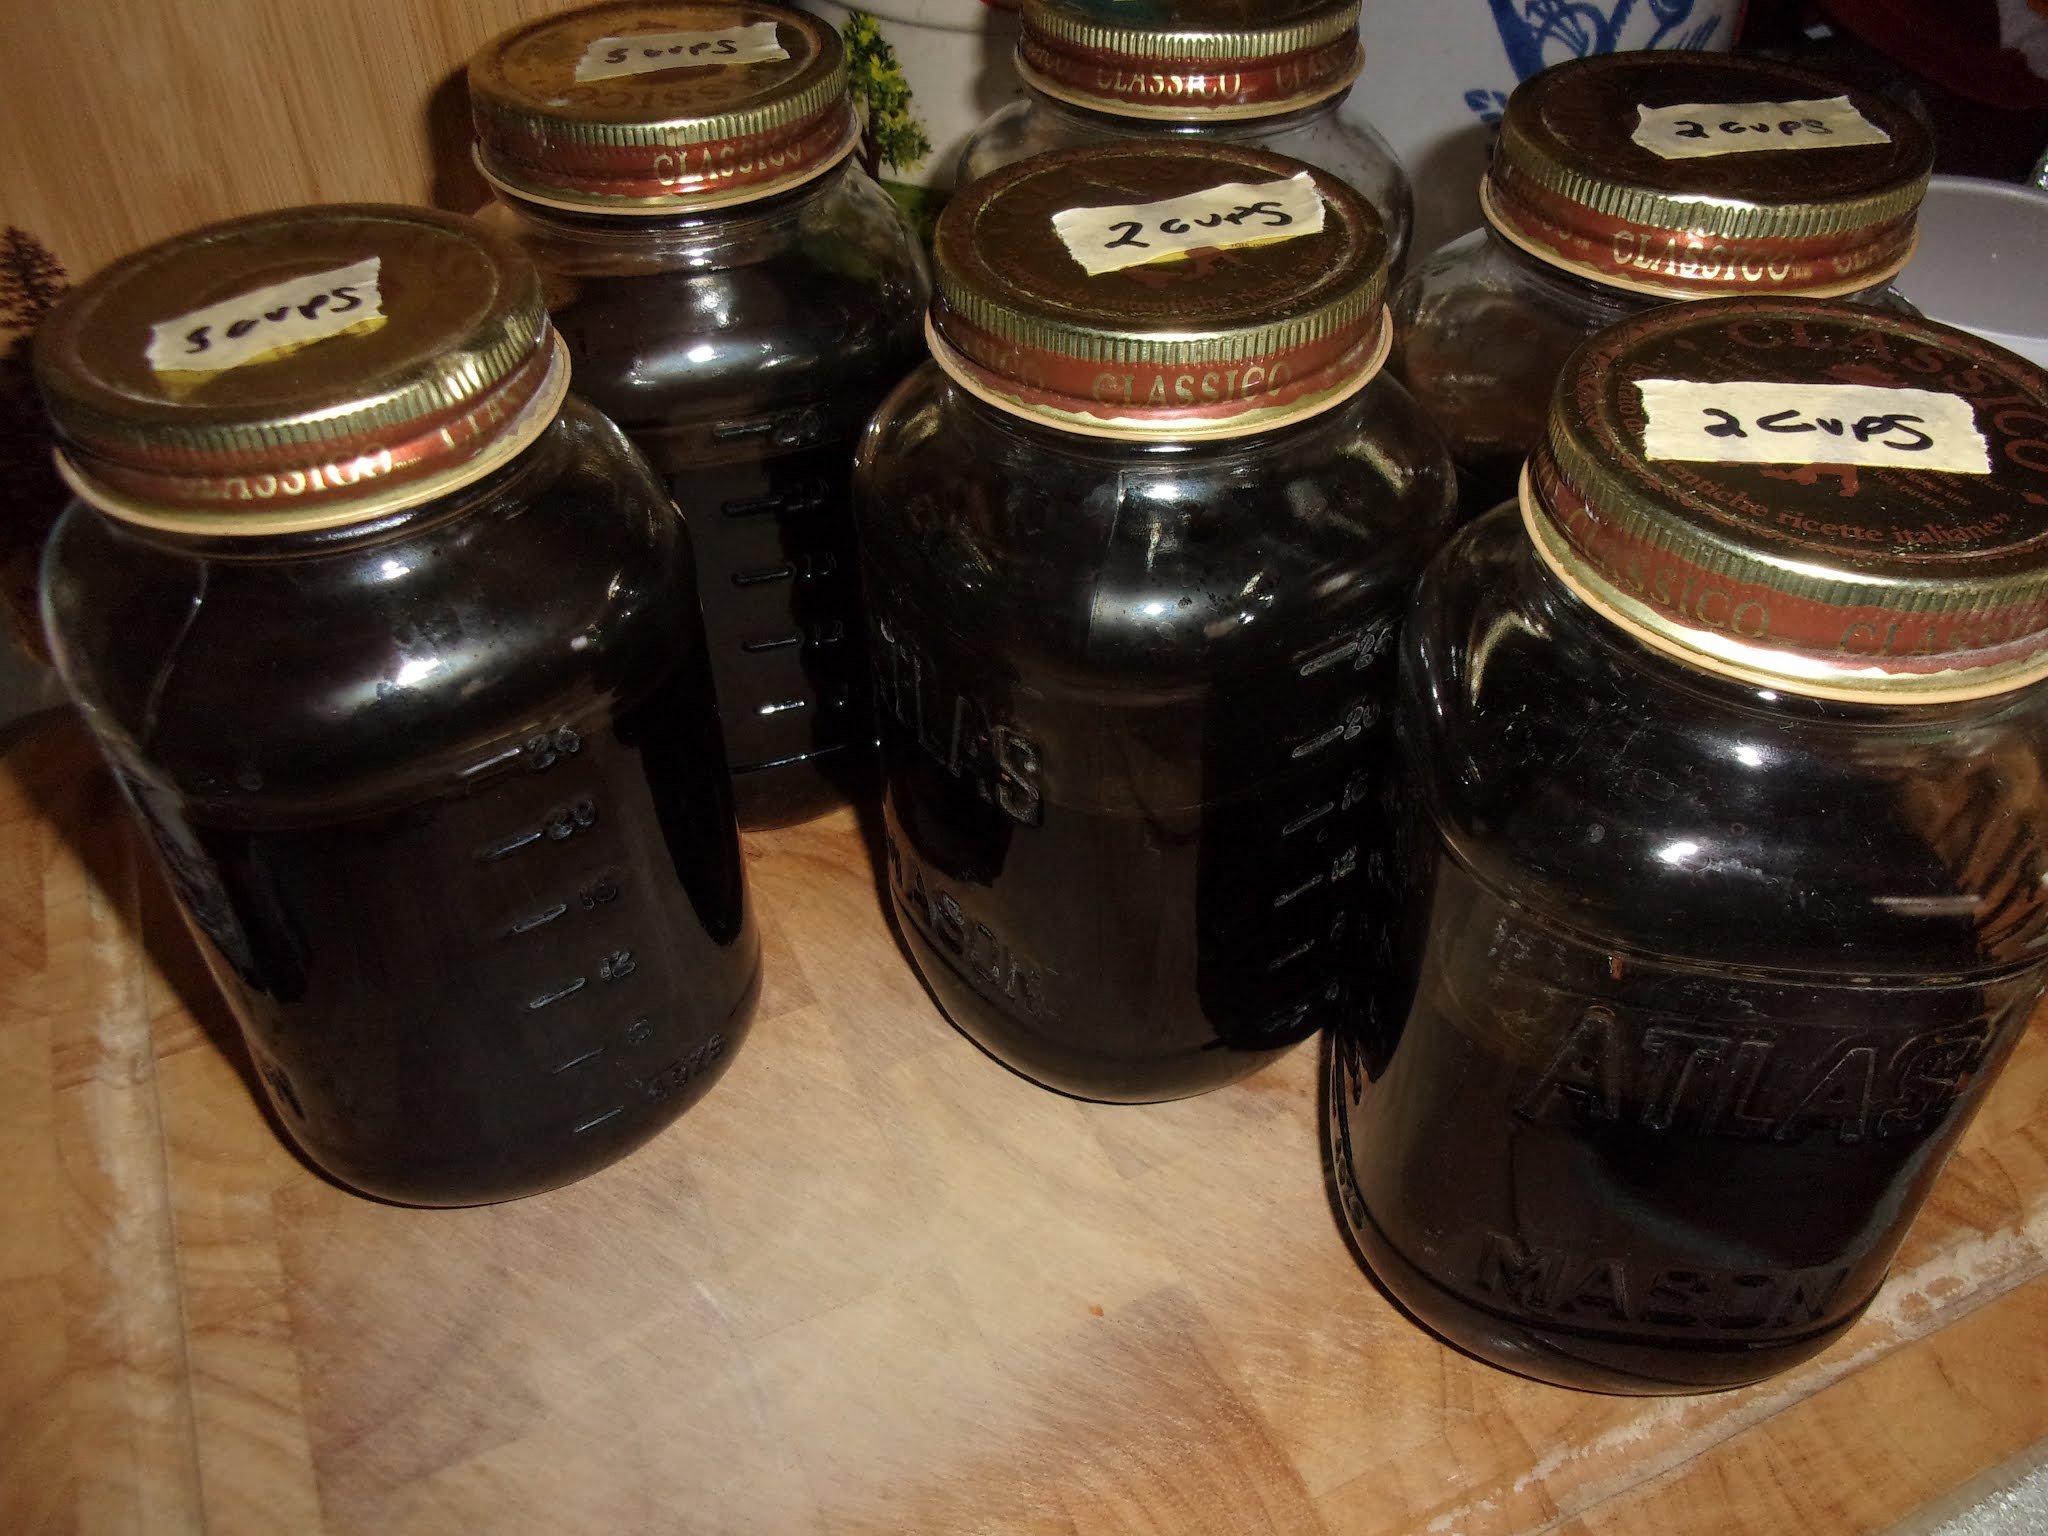
   This was the dye pot that was full to the top with water and hulls, nuts

Above pot got poured into this pot and then filled it 3/4 full with added water


The level of water went down a little more after this photo-took it down to half of what I had to start with


I totally forgot to take a photo of the strainer set up. In one of my garage sale finds I found a commercial size stainless strainer with a long handle and a hook on the opposite side-perfect for dye projects. 


I decided easy to strain off if I squeezed out the nuts and pulp first before adding to the strainer.  I strained it once then 3 times more with cheesecloth.


    Below are the large size Clasico spaghetti jars that I saved over the years. They are a little larger than a quart and they were actually real canning jars at the time. So I didn't feel bad using these jars for this project. 

I filled 4 jars with 2 cups each and 2 jars with 3 cups each of the Black Walnut ink.
  
   After straining I could have boiled down to half again. Some articles did that some did not. 

  I added two whole cloves to each jar. From what I have read and what CJ mentioned too, calligraphers that make their own black walnut nut ink use clove essential oil and I read about whole cloves.  and do not add anything else.
   Many recipes I read add lots of vinegar and salt-no I didn't want to do that.
I did order the wintergreen essential oil to help preserve, so perhaps I may also add that in to one of the jars.
   I had read and also CJ mentioned that mold on the ink is ok, as it is beneficial to the ink and you just easily remove it.


Today was such another warm day that instead of boiling the ink down again, I worked on the rock project. Finally got the stump that was in my way out of there, so now I am bringing up rocks, and am also needing to dig out some of the soil as well.  I wanted to go back out late this afternoon but I am stiff and sore so my body is saying wait til tomorrow. 

Of course I wanted to try out the ink. During my time reading lots of articles online, I ran into one that uses this on watercolor paper for drawing and painting.  So I decided I wanted to try that.

I used a heavy watercolor paper, and added to my painting journal.

    I stamped the leaves, acorn, and squirrel with regular ink, and then the tree I painted on the black walnut and stamped it. With a fine watercolor brush I filled in the stamped images, wrote Fall and made a few curvy lines to hopefully resemble some wind or movement in the leaves.


 I took a photo of the lake out our windows this afternoon. Gorgeous colors this year. Last year they were mostly brown with no pretty fall colors


Thanks for stopping by, and I will share this post over on Art Journal Journey for Chris's theme all kinds of weather.   Fall to me is perfect weather when there is a slight breeze and it rains leaves.