Showing posts with label natural dyeing. Show all posts

Sunday, November 15, 2020

What Reading List are You Using

   I am finding out that the blog list here on Blogger that I have always used in my sidebar is not working for editing. 

     I Can't remove blogs and also can not add blogs-sigh. and I have a couple to add now.

   What reader are you using to stay updated with the blogs that you are reading? thanks

     Update-

         I discovered in blog settings at the bottom is a reading list-that is updated as the newest-so I can follow along there.  There are a couple new ones I follow Amanda and Barbara's new one that I can not add to the blog roll on my blog sidebar-that won't update-but I can follow with this reading list-which I had never noticed before.

    Over the years of blogging here (since around 2008 or earlier) there were over 400 blogs listed-Wow-mostly from when I followed allot of quilting blogs-I cut that number back to around 70  However this reading list did not include word press or others that I follow so I added them into the reading list. 

     I think I will this "new to me" way of reading blogs.

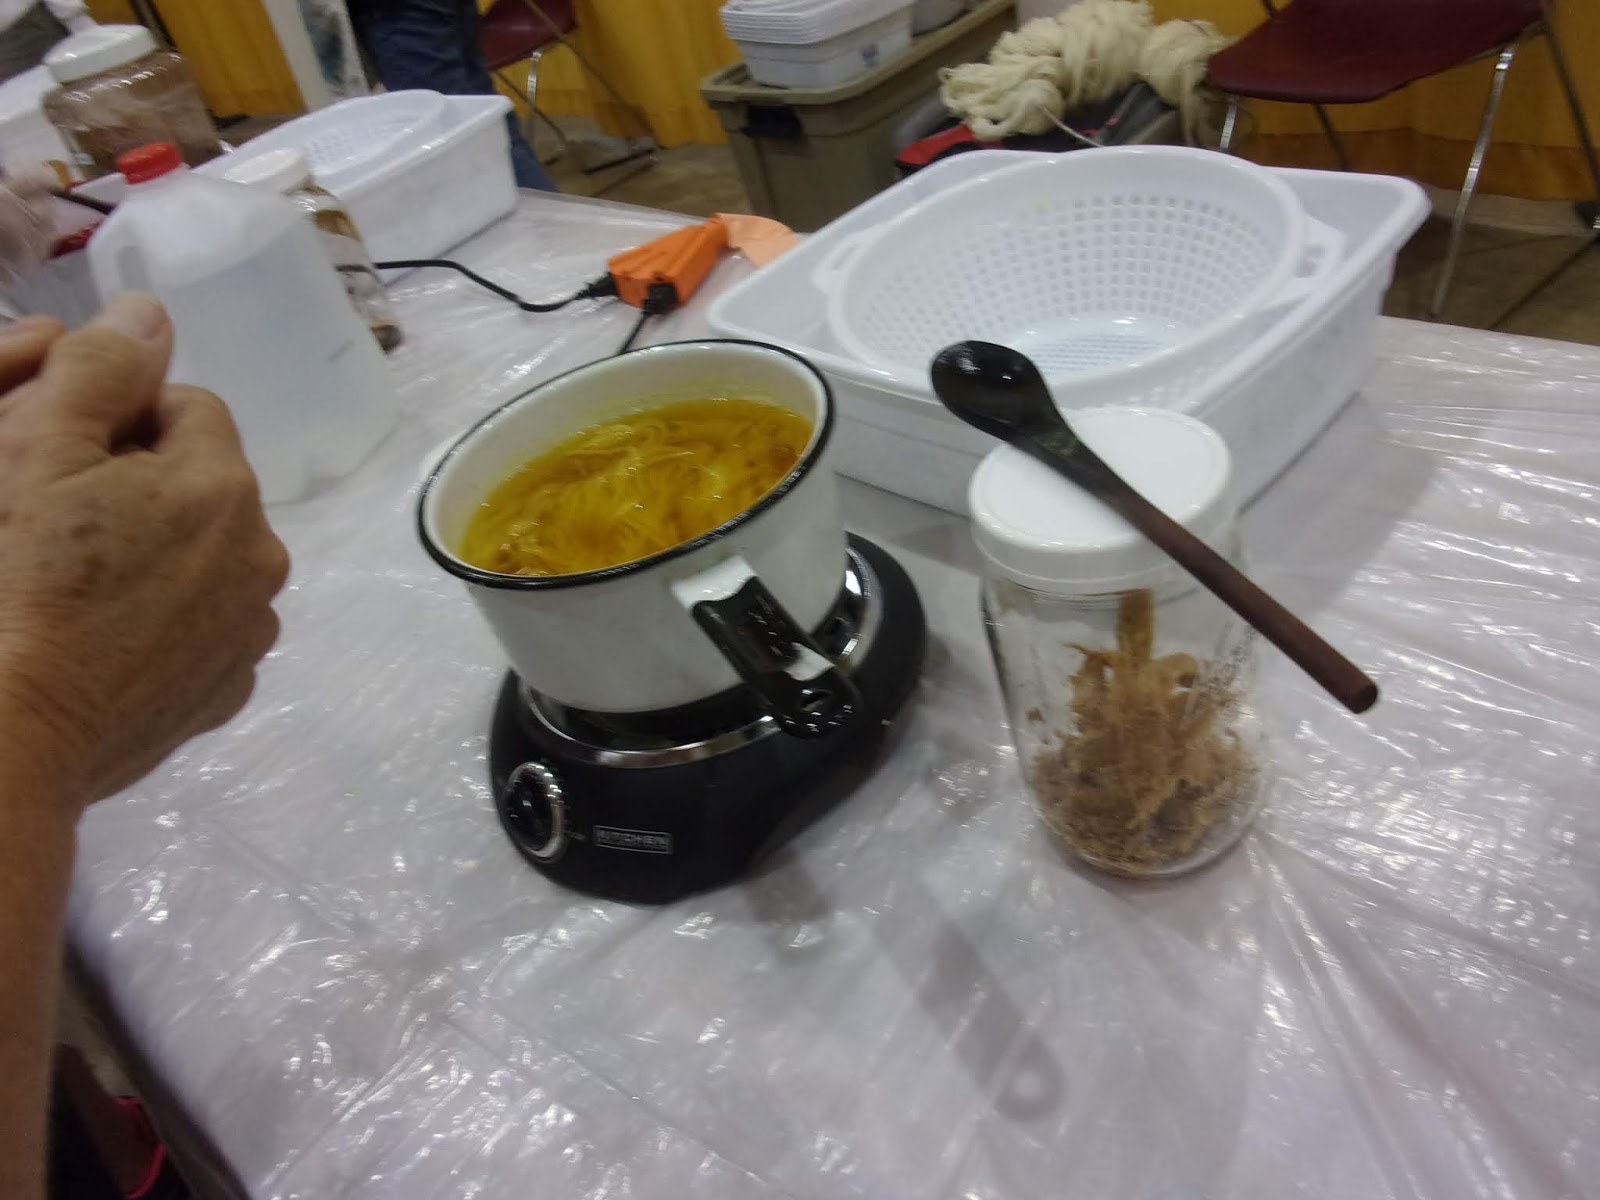
     There is one natural dye blog I have followed that no longer posts (Ecouture Textile Studio) its been over 5 years now and her posts are up in the top of the reading list which is out of order newest date for sure. That's the only one that is doing that.  Ok I just figured out how to fix that issue-I added that blog to my sidebar of Inspirational blogs for natural dyeing. yeah  That one has excellent tutorial if interested in natural dyeing


 Thank you for comments on this issue-I appreciate it

Tuesday, September 1, 2020

Second on the 2nd-Dyeing with Onion Skins

   It's the Second on the 2nd event hosted by Bleubeard and Elizabeth. This is where we search back in our blog posts and share it again a second time on the 2nd of the  month. Some of you might remember this quilt.

  Over on my older blog I did a search for quilts and found this one to share. March 25, 2016  Embroidered Blocks Into the Onion Skin Dye Pot.

   I have never liked a plain white anything-not in quilts, not in clothes, not on my walls-lol. After I had embroidered several large blocks that were going into pillows and a quilt I decided no I can't have that super white background-ugh  lol  

    So I made up a strong onion skin dye and let them sit in it for awhile. It took the edge off the very white for me, a very soft beige-white  If you click on the link above I posted how I did it


   Happy Second on the 2nd

Saturday, June 6, 2020

Sharing an Online Dye Class You May be Interested In

Good morning, I just got this in my email from India Flint, about her stay at home dye class she held during covid-somehow I missed this, or dismissed it. I think these daily classes and inspiration would have helped me be more calm during all this.

This started out as a 23 days class and she extended it to 53 days classes do to the support, and will be popping in with a few more classes til end of the year.  These first classes have now been archived but she is offering them again til June 9

"Initially conceived as 23 days worth of creative prompts, with a major project (and quite a few smaller ones), peppered with words and images to warm your heart (you can take your time though, and stretch them out for longer if you wish) it has grown to encompass 56 consecutive offerings.
Most of the supplies needed will be found by rummaging in the ragbag (or the back of the closet), in the tea-towel drawer or in the linen-press. For the most part, we’ll make do with the resources we have in our hearts and in our homes.
There are exercises in stitching, drawing and writing. We fold some wee books, make ink from tea and draw a map or two."

These classes are forever, and can do at your own pace. I like that the classes are there when we are ready for them . She has indigo mentioned too.

Most natural dyers know of India Flint she is an amazing artist-using what is available for the most part.

This is a book of hers that I have and love it.


Here is a link as I wanted to share this with any of you that enjoy natural dyeing ( She has set  payment all at once, or payments at 3 months and 6 months.
     I am seriously thinking of taking these classes-let me know if any of you do too

India Flint  School of Nomad Arts

Monday, July 30, 2018

T Stands For Tuesday & Follow Up on Class Projects Lots of Photos & a Giveaway

Another Tuesday is upon us and Just where has July gone?? 

Welcome to our T Party-T Stands for Tuesday with our hostess Bleubeard and Elizabeth-find link in my right hand column, you are most welcome to join in. 
    Only requirement is to share a photo of any beverage you are drinking.

     Summer will be totally over before we know it but I do love September and October here in the woods. The weather has been horrible for the most part here since May when we got cold Winter instead of Spring and then it jumped right into a very very hot and humid June and July.
    We have been blessed by Mother Nature though this past week with much cooler temperatures and no or very little humidity-but we have missed most of the rain and t storms. 
         ok enough weather talk 😃

  Over the past couple days I finished up little projects from my Fiber U classes. I waited a few days and then hand rinsed my dye samples, dried them, labeled them, and added to the large ring the teacher provided us with. She was the most organized teacher I have had in a long time.

Note: all photos will enlarge to full size-just click on them


Close ups of tags


That white skein was an experiment and no dye resulted 
Also the black walnut dye with the whole dried nuts would be a lovely chocolate brown if yarn is left to soak in the dye bath for a week or so


    I had made several rolags for spinning, and I was able to take home the fibers I didn't get to finish blending together during the class time.
   I was quite happy with the results-Used my drop spindle which I really enjoy using. My yarn is still on the bulky side but I still love it. However, I did have a spinning break through during my last rolag, as I handled the fiber a bit differently and was able to get a finer yarn-so am excited about that.
   These are my "art yarns" instead of beginner yarns ha ha

I wanted to share a couple photos on how you carefully pull out on the rolag and then draft the fiber out and then spin I used mostly alpaca, silks, and mint fibers. I also used a couple wools and added in a bit of sparkly fibers.


On the niddy noddy sprayed with water-then left to dry and set the twist


My favorites were the 4 rolags with the the pretty blue alpaca, silks, white mint, and white alpaca with a little sparkles We asked but the teacher did not know how they made spinning fibers from mint, milk, soy, and others The mint was very soft.


For my GIVEAWAY I want to share my band weaving project. The loom is threaded and ready to weave, printed information included, she also has a sheet of links for you tube videos This was really a nice kit with everything included to get one started-even the threaders and lease sticks.  This was my most expensive class and I got the least enjoyment from it.
   This is just not for me-I have 4 harness looms that I would rather set up and get busy weaving on-soon I hope.

  note-I didn't care for the choice of colors-they were red and white and purple and white-I don't like white all that much-even in quilting I never used just white. So I found this one green and gold-Green Bay Packer colors ha ha
  
Here are some photos: 


  Soooooo anyone with a USA mailing address is welcome for my giveaway-just mention you want to be included in comments. If there is more than one person interested I will draw early Wednesday USA time. 
I am happy to offer this as a giveaway rather then let it just set in my craft room not woven.


   Our friend Mr L gifted me with a box of canning tomatoes and sweet peppers over the weekend. Wow!! I said perfect for canned salsa making. So, I went into town this morning and picked up more sweet peppers, jalapeno and poblano peppers, onions, fresh cilantro  I will make and can this all up Tuesday morning. 
     We have lots of young hummingbirds so I am filling the feeders 3 times a day now-so I picked up 50 pounds of sugar (2  25# bags) as well.


 For my beverage this early evening,  I am drinking a cup of yogi tea in my favorite Yellowstone cup


   I started saving my tea bags-I made a couple atc's with them-fun now that I changed up the glue I am using. lol

and for Sweetness photos:

   I didn't get many photos this past week but we enjoyed several families of deer. Our mama deer with twins, another mama deer and very very young twins, and another mama deer with her young one.
   I put out some watermelon rind today, which they really enjoy


and if you enlarge the photos below and look closer you will find 2 little mini grey squirrels these guys make me laugh as they are so tiny. What is funny though they usually live up closer to the highway in the woods along our driveway, and the big reddish squirrels live down here. This is the first year since we have lived here they are now down in this area-someone must have told them about the free corn 😉


and in the back we have patches of "surprise" flowers-I don't remember what their name is-but they are always a surprise when they pop up.  They are a month or so early as well in blooming.


Happy T Day everyone!!
Sp glad you dropped by

Sunday, July 22, 2018

T Stands for Tuesday & Fiber U Loaded with Photos-Long

Happy T Stands for Tuesday!
  This is where we share a drink related post-just show a photo of your water bottle or what ever you are drinking. Join us with our hostess Bleubeard and Elizabeth-link in my right hand column.

  My weekend was full of classes at Fiber U this year. I took two classes on Saturday and an all day class 8-3 on Sunday.
  I was determined not to shop this year, except perhaps for some natural dyes-which I did end up bringing home a couple hard to find dyes-but nothing else-so I was good-no spontaneous purchasing which I love to do with fibers and beautiful handmade tools-but I did not even look at them. Actually there was time to shop-a good thing ha ha

      (Note: I set up links to explain weaving and spinning terminology)

  My first class was using a blending board to make rolags for spinning. 
   You may remember last year I shared a few posts and photos about me making rolags with my blending board.
  I decided to take this class for a hands on experience as I was having a little trouble getting my rolags off the board-and this turned out to be a very fun class where the time really flew by fast. She had one full table packed with all sorts of fibers to try-including fibers made from milk, banana, mint, soy, all sorts of things. I had also tried making roving from a you tube video, so I brought along my ditz. This was the teacher's first time making roving this way-but I learned tips how to do this better as well.

I remembered to bring my camera along this weekend too-all photos will enlarge to full size just click on them


This event was held at the local civic center in my nearby city


Sorry this was a bit blurry but the only photo I took of the table of fibers-and much of the table is not showing here


The class was worth taking for me to learn of this technique-using a brush to push down some of the more difficult fibers-and then using the carder afterwards


This was my blending board-and you can see my bottle of coconut water to back left


The finished rolags-ready for spinning at end of class


After lunch, my next class was Dyeing with Woods, the class I looked forward to the most and did not disappoint.

  The teacher was a biologist, a bit of a chemist, and a natural dye historian. She has taught in colleges and universities, and at many events like this one.  She was extremely organized and could answer any question we asked. I learned so much. I had discovered some things on my own and when she mentioned a couple it let me know my thinking was correct.
   I was upset that my pokeberry dye on rug yarn that I did several years ago had lost it's color after 4 years and stored away. She reassured me it's a berry so in the end is a stain not a dye, and I had concluded that as well but wasn't sure.
  Another thing I had never read about was to add a wetting agent to the skeins of wool. I knew they needed to either come right out of the mordant bath or to soak over night so the fibers are very wet and will open up to accept the dye. The teacher adds a couple drops of pure no scented ivory dish soap.

Here are a few photos-there were 4 of these pots going at one time, and we filled them three times plus one more. We each ended up with 13 samples, a booklet of information, a ring and tags for our samples.


These bags are filled with our samples of each of the 13 different wood extracted dye pots we did


Below are close ups of some of the bags with our samples-we got purple, browns, yellows, red, a black and one was grey-green

Logwood
   I had bought some of this a couple years ago from her booth-not knowing at the time she also taught. She says now the wood chips are very very difficult to find so one needs to buy the extract right now  I am glad I waited as I now know how to dye with it 


Brazilwood-gorgeous  I bought some of this to dye with


I was very impressed with this gorgeous yellow from the black oak-but you use only a very very small layer just inside the bark-so this is more expensive and harder to find. I bought a small bag She says it will give gorgeous greens over dyed with indigo.


Depending on the wood-some of these are soaked in a water solution, but most in an alcohol solution for a week or more to extract the dye.

She also added the mordant right to the dye pot which I have not done before-I have always mordanted the fibers first and then dyed. this was definately easier especially for yarns

Sunday was my all day Scandinavian weaving class.

   This class did not go well for me at all. I was tired to begin with and then the instructions were very unclear. I felt pretty stupid as I know how to thread a 4 harness floor loom.  geesh 

   The instructor was very knowledgeable, a weaving historian and also a reenacter  She went to allot of work setting up our kits with everything we needed, but she was very poor in explaining things and she mentioned in conversation she was in her mid 80s-so I do applaud her for still teaching--but
    The lighting was also bad in the room and very difficult to see white on white.  There was one student that was worse than me-she said she was a weaver too but did not take the threads off the cross properly so she really messed things up and the teacher gave her another warp-which she also messed up.
    I managed to finally get it threaded properly with an hour left in the class. I just asked the teacher to show me how to set the end up for weaving and I would figure it all out later--probably Not though ha ha
   This is similar to a back strap loom where you tie the warp on to something stable and then you tie the other end to your waist-and then weave. This little loom has a shed though like a floor loom or rigid heddle loom, I took a few photos of the student's set ups


There was only one student that was weaving right away-she ended up with allot more than this finished. She was nice and offered for me to weave on hers so I would know what it was like-as she was going to take most of it apart and weave over again with better tension and edges-I said thanks but I think I am brain dead right now-5 hours to thread mine several times ugh Well in the 5 hours I was also looking at samples, and listening to the teacher about different things


In the 1700 and 1800's these little looms were beautifully handmade and carved
 This is a modern one that was laser cut


She had several samples woven up


This is mine finally threaded-these are plastic they have long slits-tiny holes-and half long slits to thread into. 


      I also wanted to share my swap-I got Elizabeth's big envelope in the mail on Saturday. (Mine will get mailed out on Monday)
   She sent the atc, handmade paper, and butcher papers-oops it was deli papers- for me to see-for eco dyeing and other crafts Thanks again


I decided I needed a bit of wine this evening-lol


Happy T Stands for Tuesday