Showing posts with label black walnut ink. Show all posts

Wednesday, January 18, 2023

Art Practice with Inks and Watercolor Paints

   We woke up to rain this morning-feels like a cold spring rain. Timing is bad though as we had help driving up to work with Larry on the dock and could finally get all of those Christmas goodies to them. Oh well such is life.

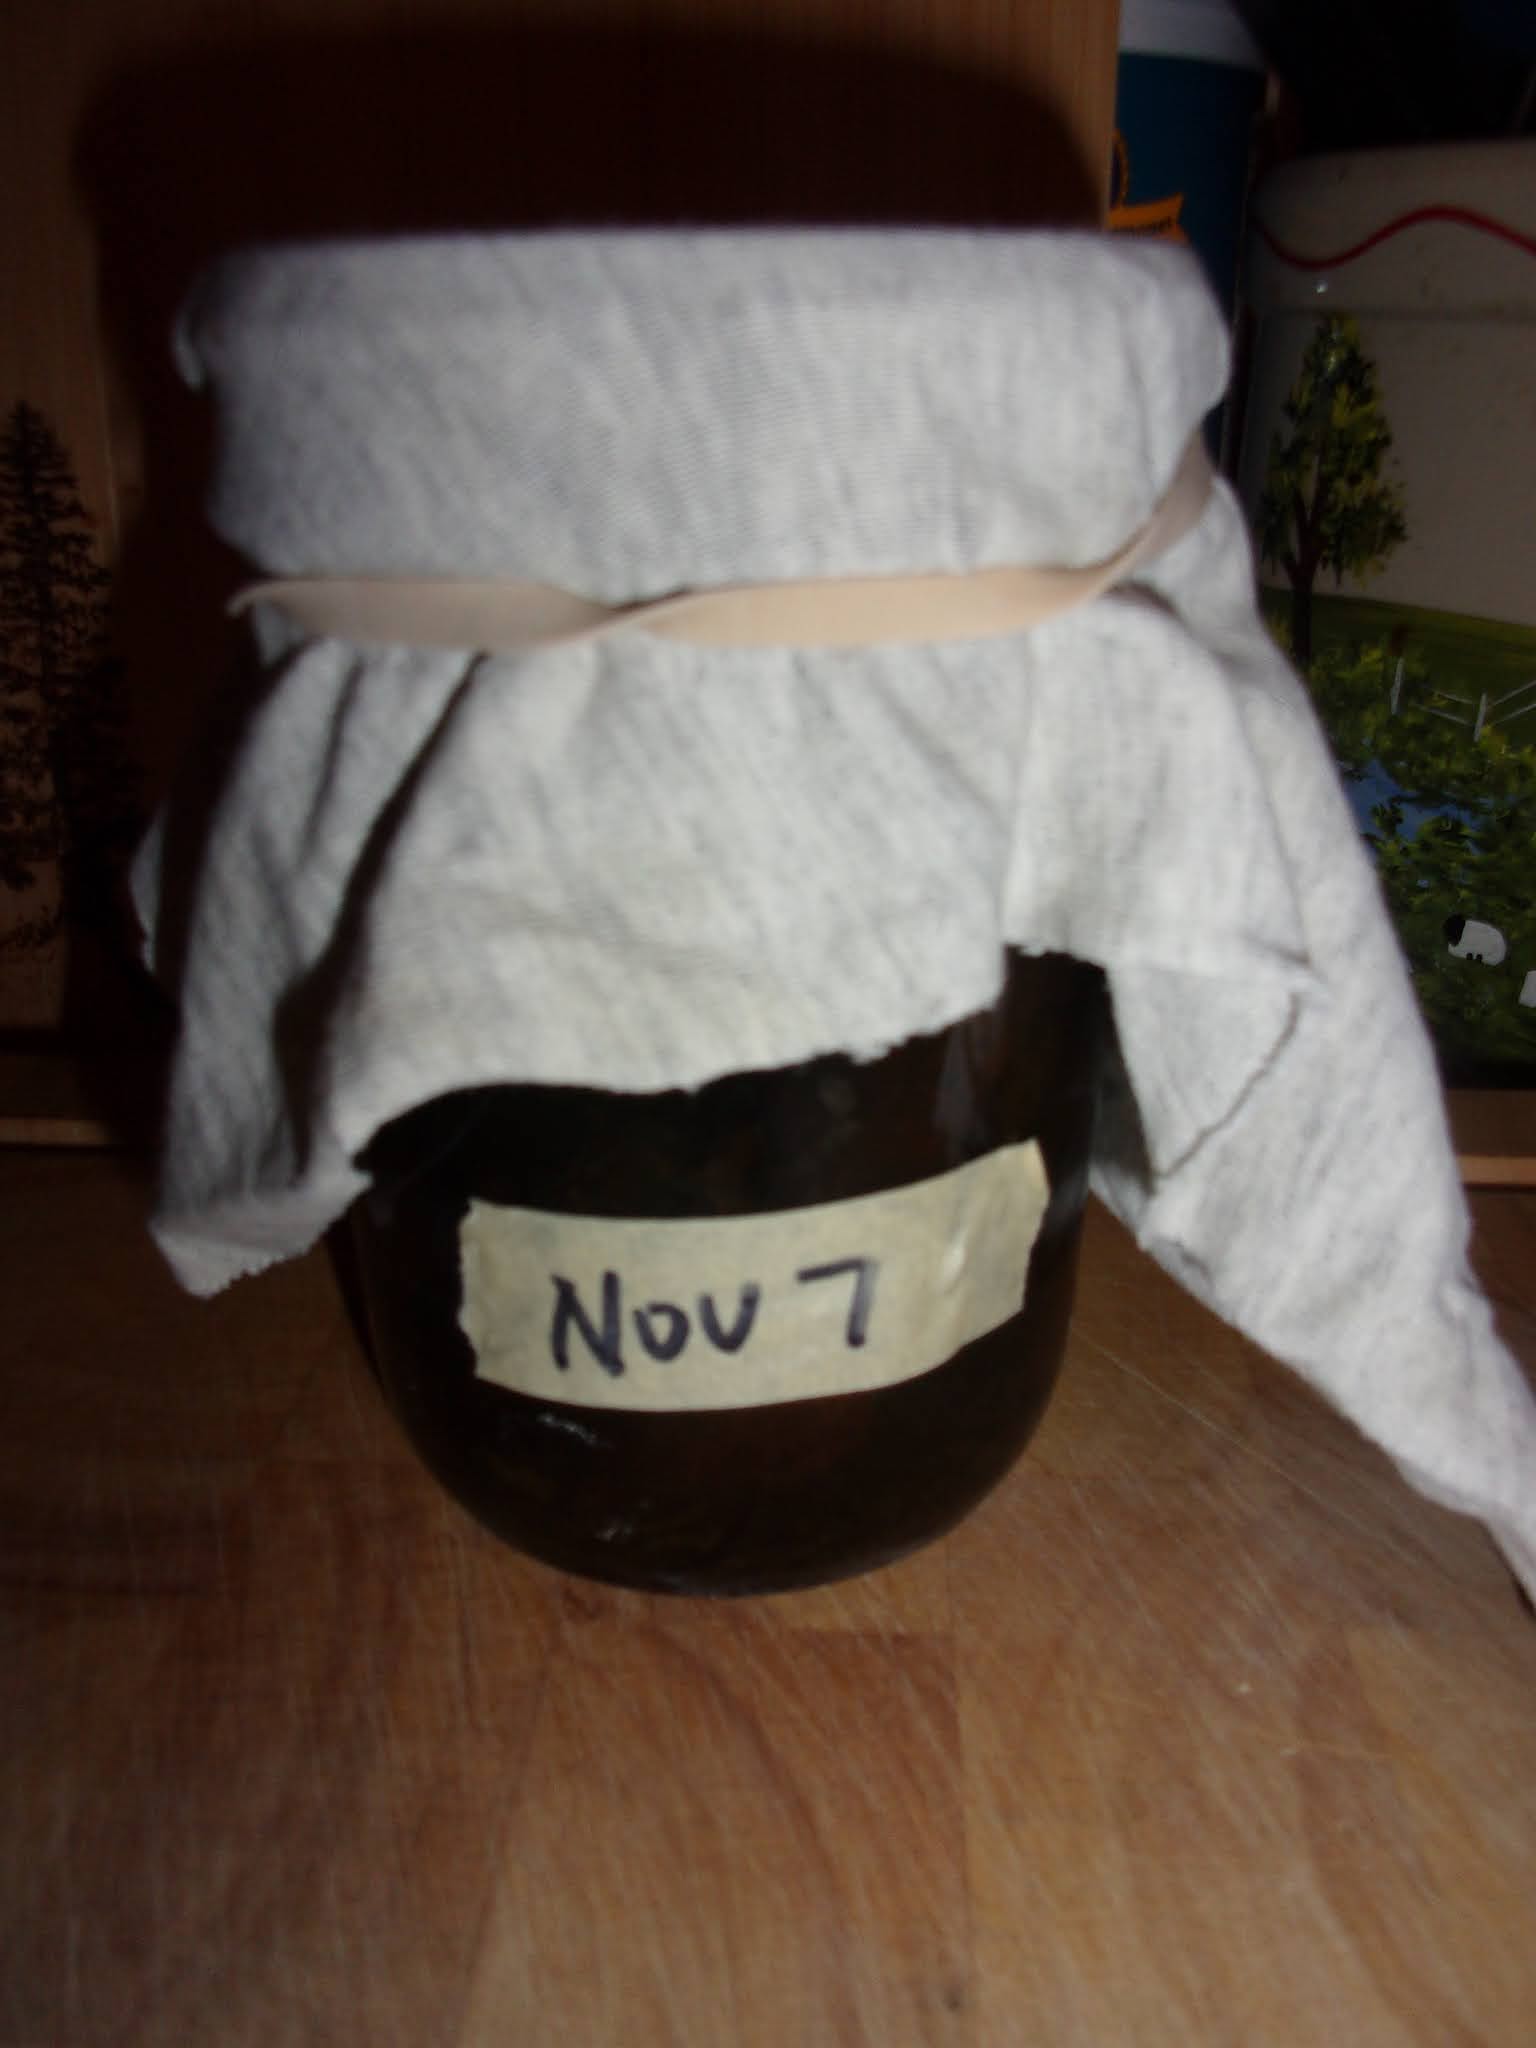
  For a couple days I have been playing with watercolor inks and paints.  The blackberry ink was interesting-ended up with three different colors-thought that was crazy at first, but the ink book arrived and it noted that there will be surprises with botanical inks. So I am just going with it and will have fun making and using these inks. 

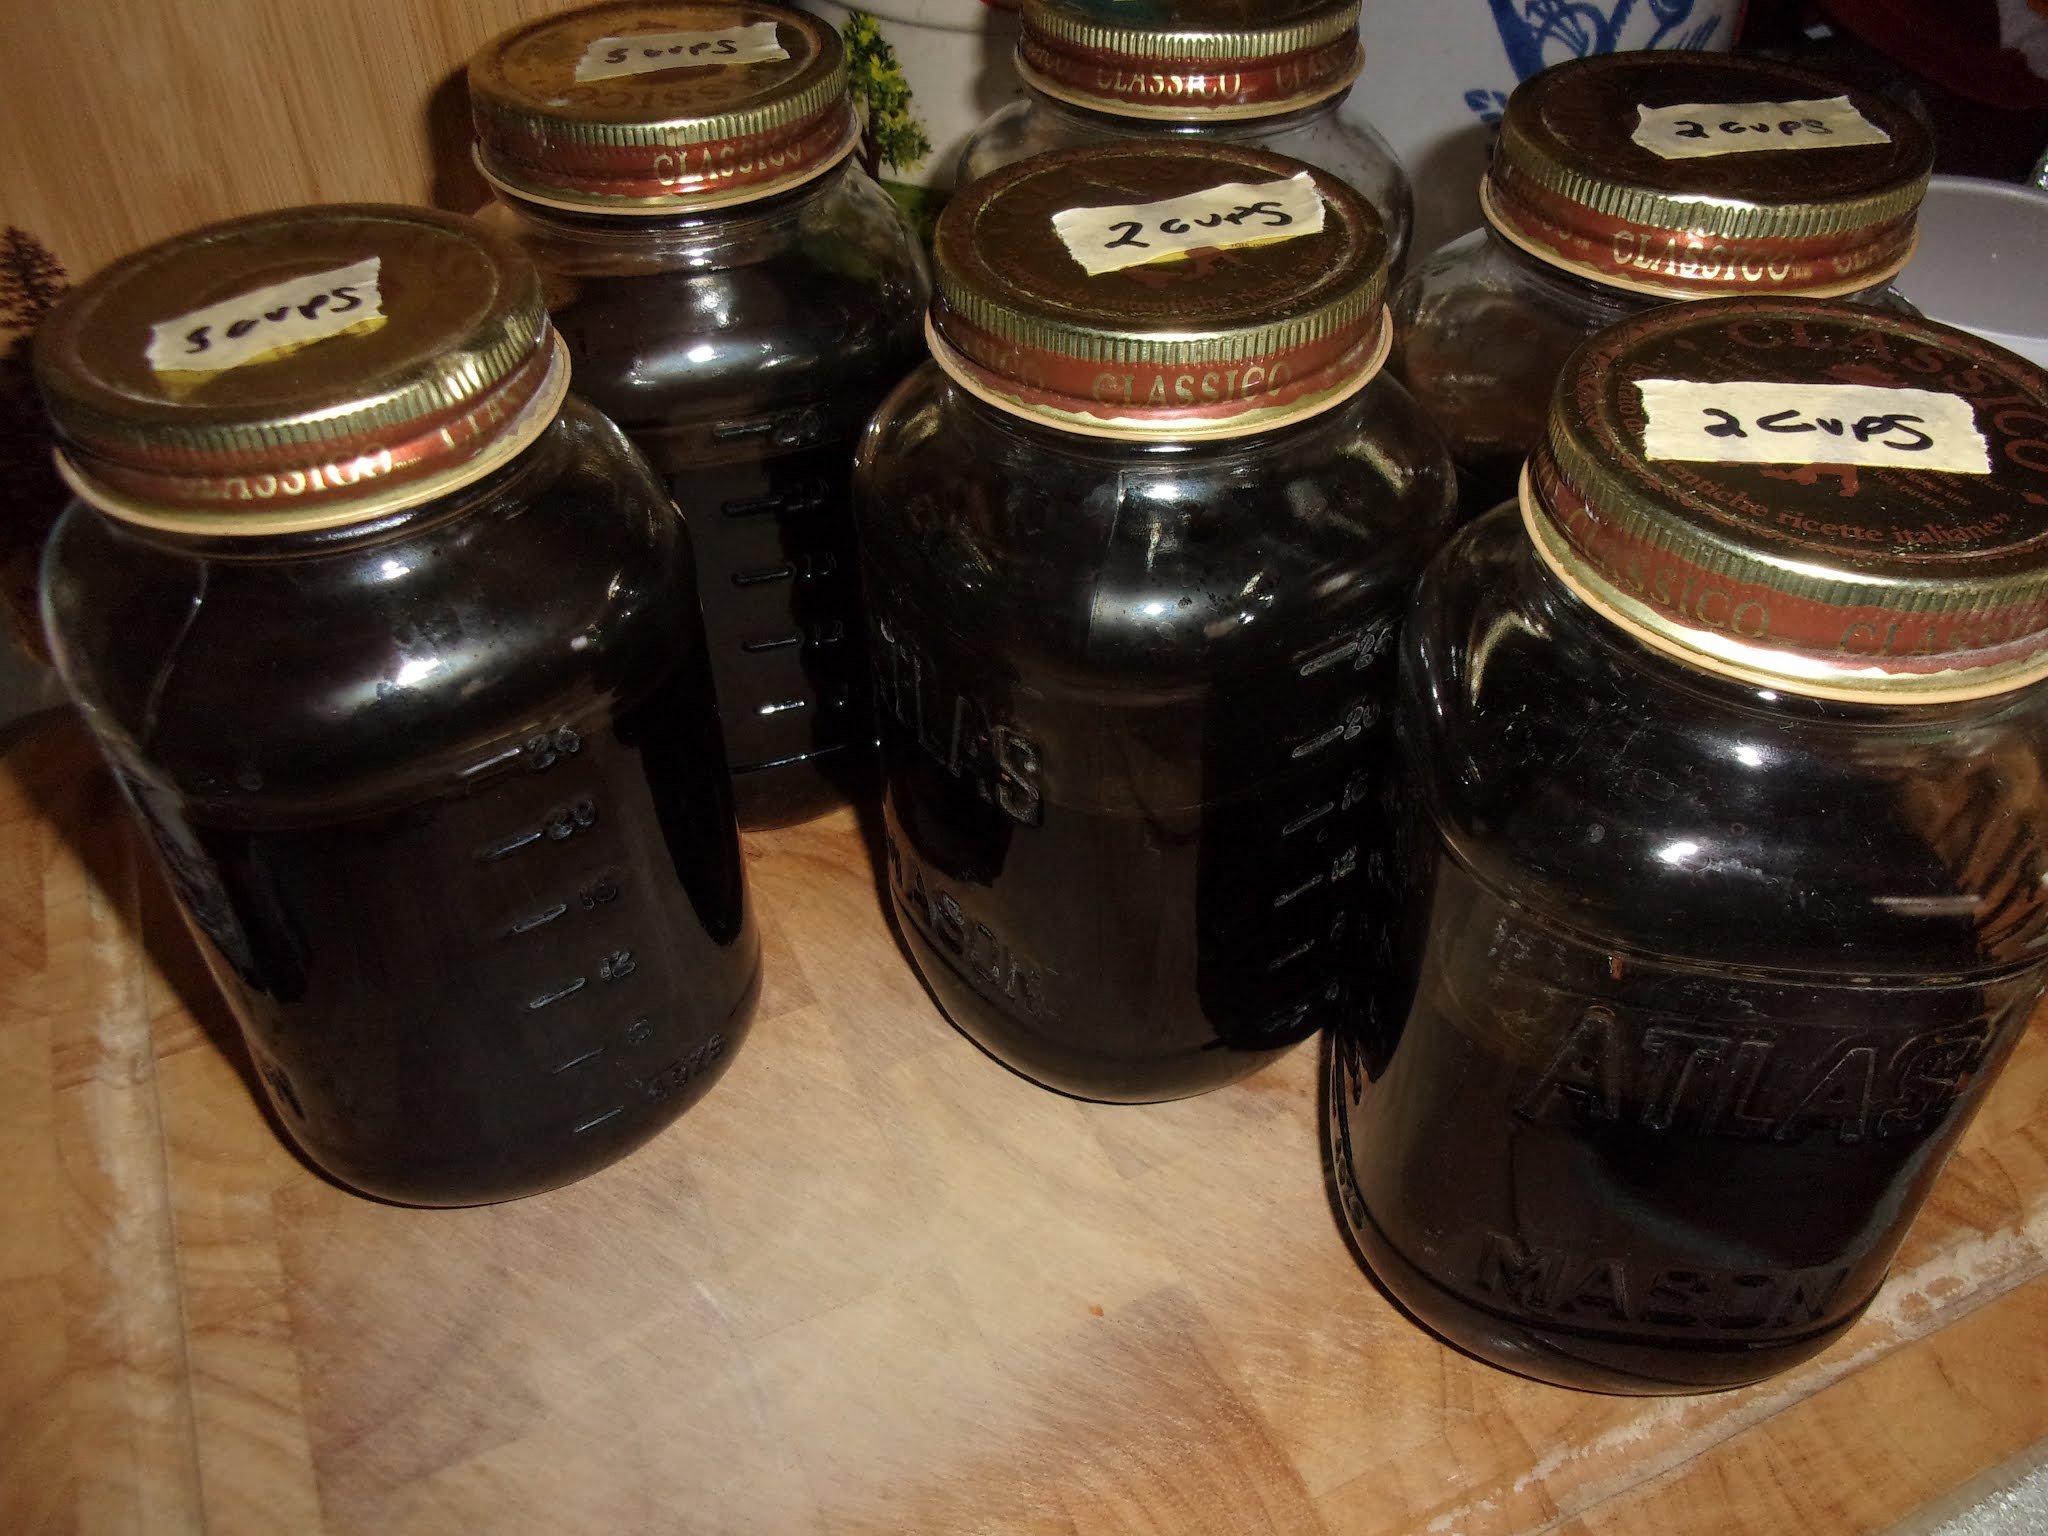
   So far the black walnut ink is my favorite, I love the color and seems more stable too opposed to the berry ink. When using the black walnut for dye you don't need to use a mordant so that is probably why the ink is nicer too.

  The section to the right in this practice piece below, is mostly watercolor paint with black walnut ink-inspired by a page from the book I am working with.  

  To the left the flowers are with the blackberry ink. The blue flower on the right was the first one and I used a dip pen. The flower to the left I used a watercolor brush and got a little too much of the ink, as you can see how wet it is on the page


After the flower on the left dried I got this deep purple color
    The stems and leaves are black walnut ink with Winsor Newton green watercolor ink.
   The centers of the two flowers are black walnut ink


a closer look


  The next day I decided to make one more flower and see what color I would get this time haha   I used a glass dip pen for this one, also when I opened up the jar of blackberry ink it had a little film on top-I had forgotten to add the whole clove and wintergreen essential oil as a preservative.
    This is another color for the flower petals not sure if the wintergreen and clove added to the color change or the use of the glass pen made the difference.
  I am liking all three colors-it's just a surprise after they dry.


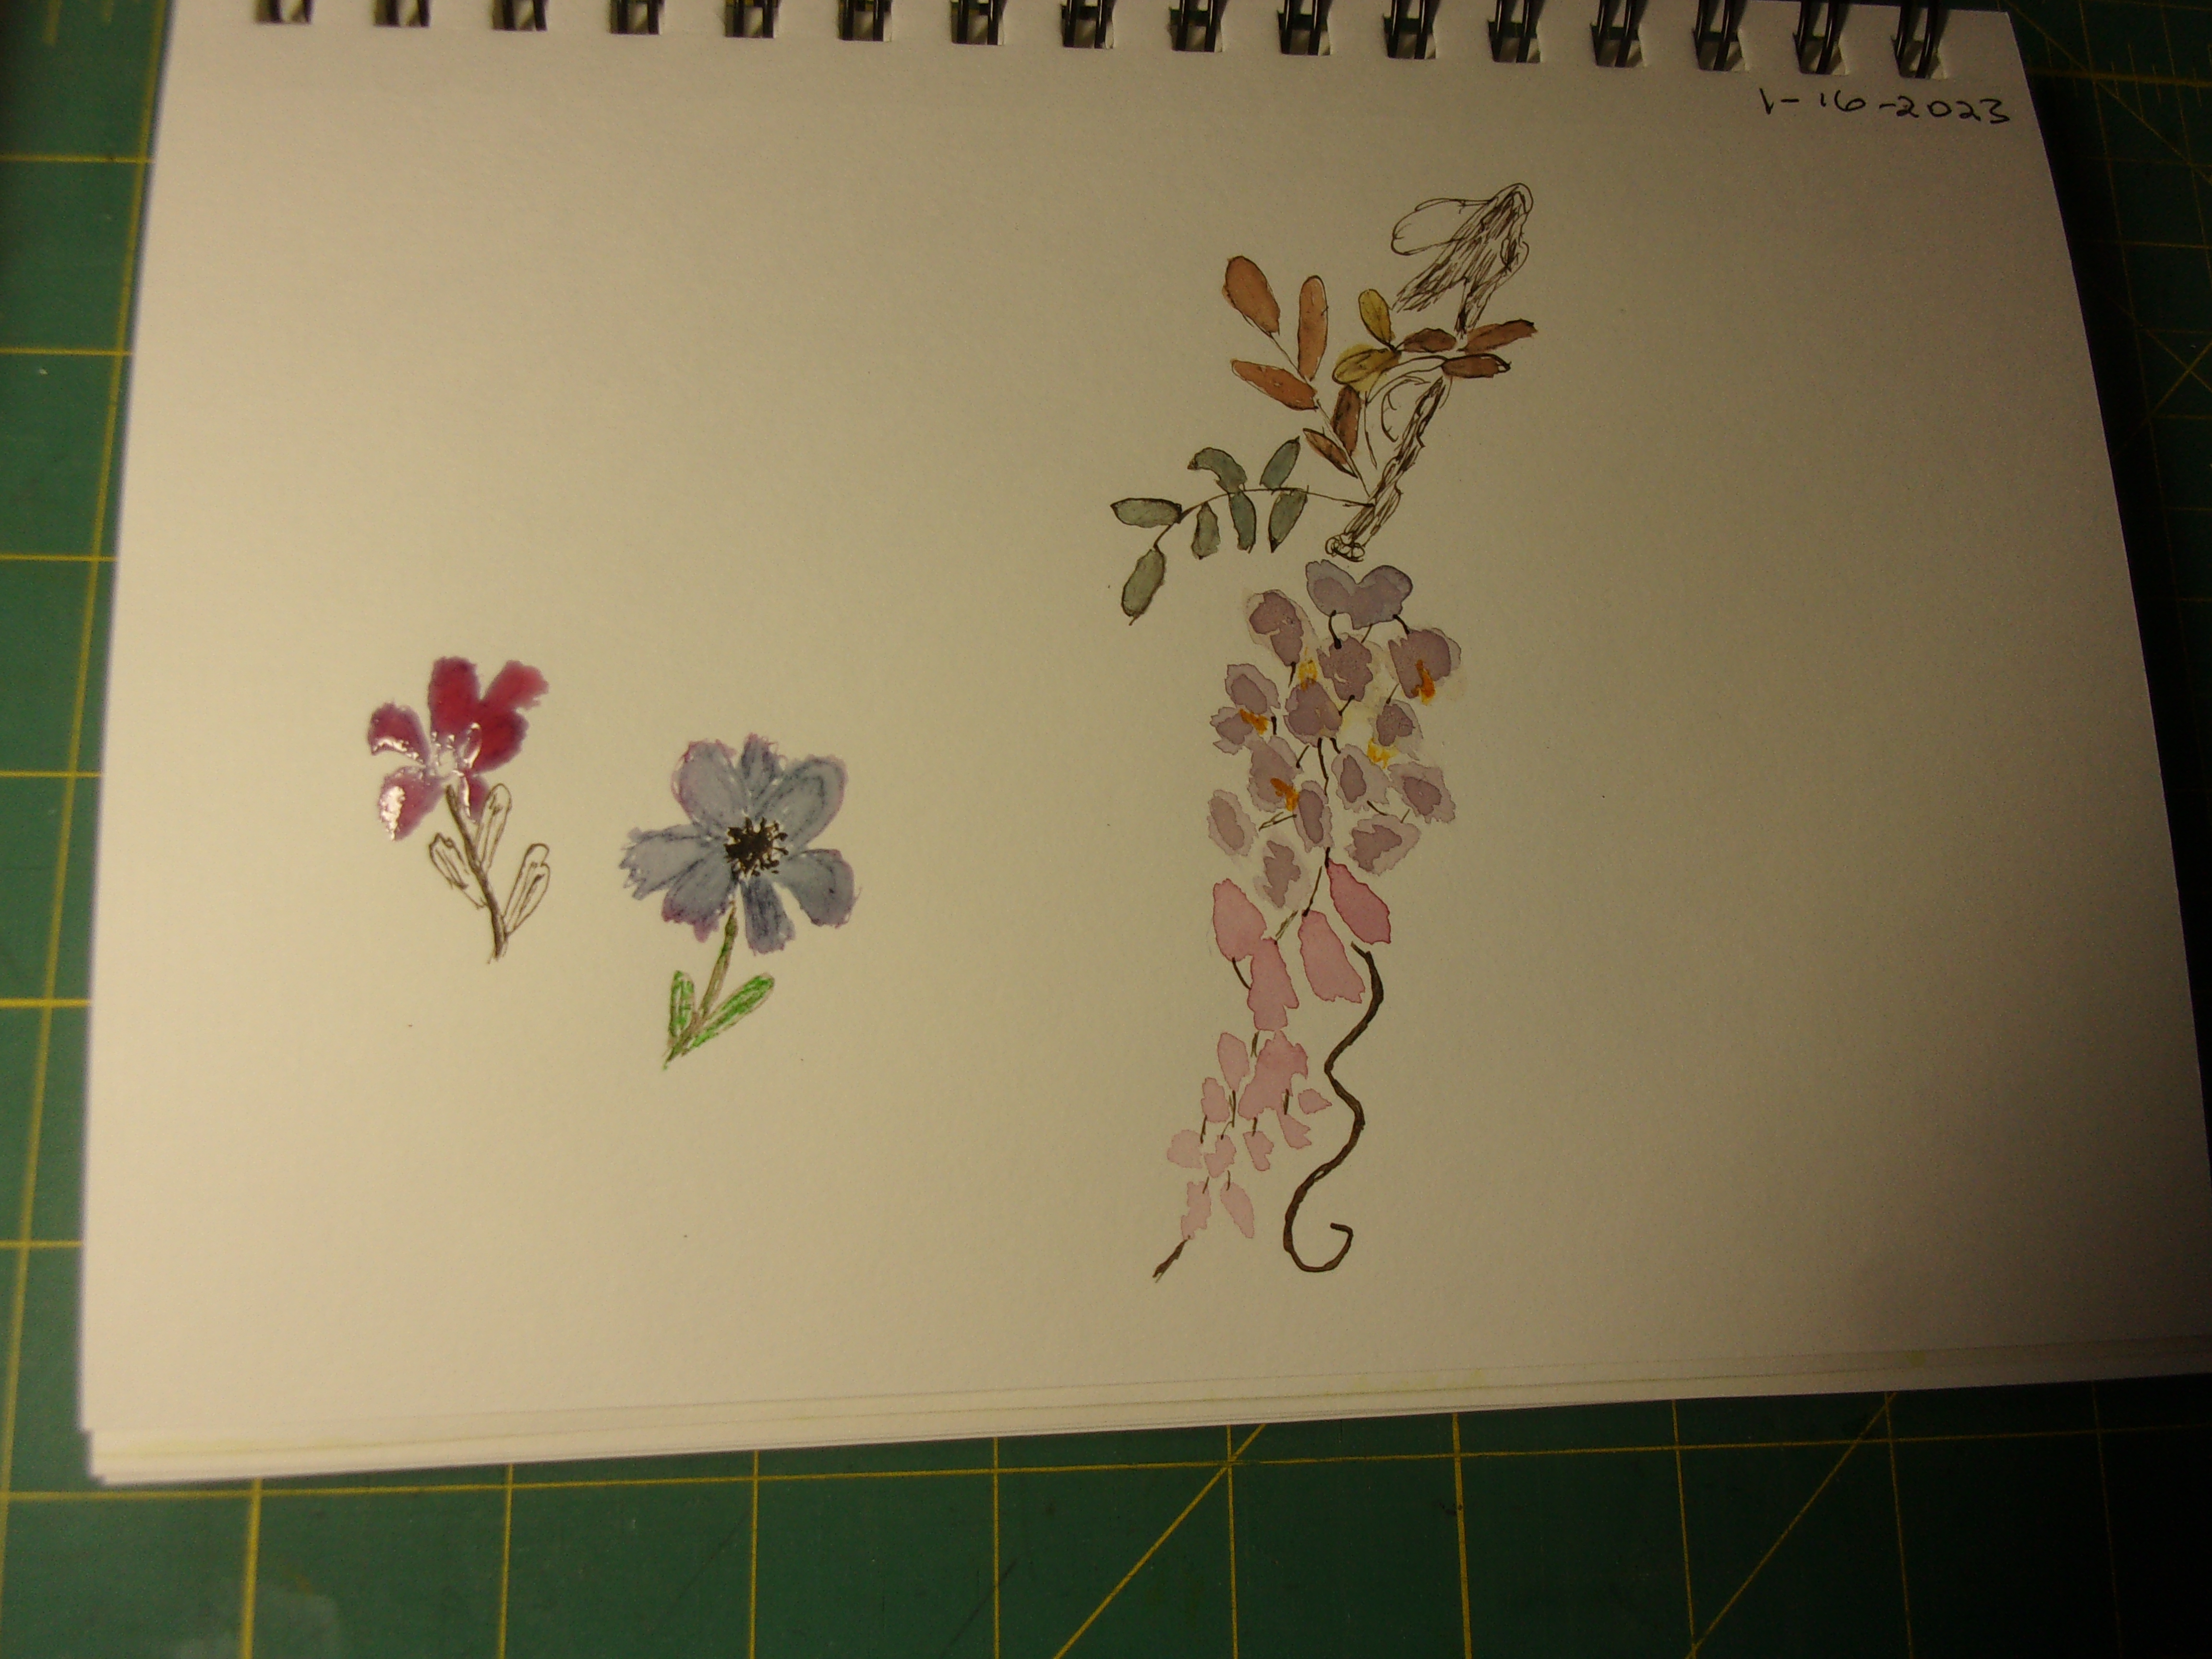
     Interesting that they were so different.

  I started reading a bit in the Ink book, It is a beautiful book , thick pages, but the type on the pages is very small so a little difficult for me to read. Not sure why they would do that. 

  I was a bit disappointed that there were not more recipes. The turmeric ink for a pretty yellow was made as an alcohol ink which I don't want to do-so will search for a water base recipe instead. There was also a recipe for a gorgeous blue from copper but I don't want to use any toxic chemicals for these inks. The book did have a good basic recipe and discussed different materials to use. Was very thorough for beginners setting up to make ink or dye as well. I have done allot of dyeing with natural materials in the past along with allot of eco dye experience as well-so may have been expecting more for making ink.

     Making ink is much simpler for sure.

   This is a beautiful and well written book. I am learning allot of little things and I am  enjoying the author, but I am glad I didn't pay full price for this book. If you have access to a library I would suggest reading it that way first.

 Happy Mid-Week

UPDATE:  browsing online I found an awesome site-30 days of making botanical inks here  She has 30 recipes for different botanicals and she was inspired by the Ink book I was referring to above. She uses the inks to make abstract art  I should ask her if she has a way to set the color in her paintings.

  When I can't sleep-I read-so I started really reading the Make Ink book tonight-and it's really written very well-like the author is talking to you He gives you the basics to just go out and make ink with a basic recipe-and then you adapt for your needs.

Wednesday, June 15, 2022

Watercolor Inks Practice Piece-Updated & Rain's Art Date

   Happy Midweek Friends,

     Of course it is still very hot and humid here, which keeps us indoors most of the day.

     Along with a little house work decided to try painting another mountain scene mostly with inks.  I am really liking the black walnut ink I made to also use for painting now, also grabbed a few of the watercolor inks, and a little watercolor paints

    This time I did the sky area last instead of first, I am not real pleased with it so far-once dry will work on lightening it more. I used the blue watercolor ink and even watered down was pretty dark.

    I started with the mountains and then really watered down the black walnut ink to cover the bottom of the page. Used inks for the grasses and little dots of flowers, also the tree is watercolor inks and black walnut. I did mix a little watercolor paint into the black walnut  ink to color the tree trunk. I also used watercolor green for the leaves

   I don't think it's finished but this time will let it sit a bit instead of jumping right in like I usually do haha Not sure what it needs yet perhaps more trees?

  Honest opinions and painting advice always welcome for this very newbie "painter"


I am using watercolor papers torn from a spiral. I was using painters tape to tape down my piece but it tore the paper so that did not work out. Now I just use a large clip on one end. When finished will weight it down.
   I really do not like this dark blue sky at all and looking at these photos, for some reason the grasses look lighter in the middle, perhaps the camera did that


Ok I am finished now, friend Barbara suggests less is more in the back of my mind-smiles.

    I added a little melting snow-or mist to the mountains, added in a few more grasses-in person the middle green is the same shade as the others


Updated:  I have been working on this watercolor practice-learning piece off and on most of the day today. One suggestion for improving the composition was to add something to the left side.  So a few hours later I messed around and added another tree-however I didn't have anymore of the same watercolor inks mixed up and ooops the tree turned out way too dark, and I didn't get a nice shaped tree for this one either--but I decided to go ahead and share for Rain's Art Day   I also worked on lightening up the sky a bit too.

    I am a work in progress with painting, so I am putting this piece out there any suggestions always welcome for improvement  I will say I really enjoyed working with the my handmade black walnut ink and winsor newton's watercolor inks for this piece.


Thursday, June 9, 2022

Happy Thursday--A Catch Up and Watercolor Practice & Fish for AJJ

    Note: my AJJ entry for Fish is below

Yesterday morning very early our Wisconsin friends headed home. It is around an 8 hour drive for them.

    It was a good time for us, Rob visits with his wife a couple times a year, but we hadn't seen Rich since the last deer camp at the woods house. I really miss the fun and abundance of foods during deer camp. For us it was our Thanksgiving sharing friendship and good eats with friends.

   I didn't get any photos as I did everything in the kitchen while the guys fished. One day I made us reuben sandwiches that are always a big hit. I made  a creamy mustard potato salad to go with. Marie sent along one of her homemade cheesecakes for Larry-his favorite. The guys asked what to bring and I said a fresh watermelon and fruit would be wonderful, what ever snacks and drinks for you, and I only make breakfast and one main meal a day.

  Rich went over board-he always does-and brought lots and lots of fresh fruits, strawberries-cherries-plums-nectarines, pineapple-cantalope-large watermelon-Wow haha. I enjoyed the fruit as the two grocery stores nearest us have very poor fresh fruits-even the small wal mart has horrible fresh strawberries etc-so that was a real treat. They also brought cheeses, bags of deli sliced meats, huge box of bakery sweets and fresh baked bread-Larry loves those sweets-I don't keep them around because he can't resist-sigh.  and next week is our 6 month visit with blood tests. that will be interesting

  The next day I battered up crappie and catfish for a fish fry-I did allot of fish-everyone loved it-the new batter recipe I use now every one loves that tries it I had so much left over that I searched online if I could freeze it and one can. So I just need to heat up some in the oven. This is the recipe for the batter.    For the flour I use Bobs red mill 1-1 gluten free flour, for the corn flour I use his gluten free corn flour, and for the beer I use gluten free beer or seltzer water. I used seltzer water this time and the batter was perfect. The seltzer water is a better choice over club soda if you are watching salt intake.

  We have had more rain and storms, but thankfully a really bad storm last night missed us-so thankful as that one came with damages.

  Next week we jump into the 90's  we have really been enjoying the cool mornings this past week-drinking our coffee and watching the birds that come up on the deck.

  While doing laundry this morning decided to play with my watercolors and also the green watercolor ink from Winsor and Newton, and my own black walnut ink. 

 Fish is the theme for Art Journal Journey this month.

  This piece is for sure a practice piece-not totally happy with it, so have not added it to my journal yet. I didn't get the movement in the tree limbs I was going for, those fish are so so haha

  I used the fish stamp for inspiration and also this hand stamped scene for inspiration-which was in a stamping magazine.


 some of these fish look like little sharks instead of carp-lol oh well I did have fun using inks along with the watercolors


Looking at this piece now as a photo-I always seem to see my paintings better in a photo- not sure why that is--but I think I may go in and extend the leave branches on the tree limbs-that may help 


What do ya think?? much better I am thinking Question though-is this too balanced?


  I took Christine's suggestion of darkening the water. That was a good idea. I added some darker blues, but since the tree and grasses were already painted, hard to fix those areas-but a little better for the fish  


Friday morning I decided to add my watercolor piece to my journal. I do love my tree branches and leaves and the plants in the water, which I used green watercolor ink and my own black walnut ink.  I also used the black walnut ink for the fish and highlights in the tree trunk too.   Will share over on AJJ for Mia's theme fish 


Sunday, November 14, 2021

AJJ--All Kinds Of Weather

   Good morning Sunday, I wanted to make another page for Chris's theme All Kinds of Weather over at Art Journal Journey.

   All weekend the weather here has been fall weather-chilly, "raining" leaves and very windy. Since the fall months are my favorite weather (and season) I wanted to make another page with falling leaves-and use my black walnut ink too. I really am enjoying using my handmade ink these past few days. I am again adding my pages to my German cookbook mixed media journal


I used saved papers-the blue, the butterfly and the stripes are from an envelope from one of my snail mail friends,
   The larger dried plant images is from an Ideal fall magazine as are the little leaves and the poem. 
   The orange is a scrap of construction paper
   I grabbed a watercolor brush and painted in the little leaves with the black walnut ink


The upper page I stamped these trees with no more leaves, more of the little leaves that I painted with my black walnut ink, and a piece of wasabi tape with leaves


Thank you for stopping by

Tuesday, November 9, 2021

Black Walnut Ink-Finished it up Today & a Journal Page

  Sunday late I grabbed a dye pot filled it up 3/4's full of black walnuts whole with the husks that were black, and also just the husks that were black. These were fresh from the big pile of nuts I had collected.  

  Monday I set up the big Weber grill with a big pot-old from water bath canning now a dye pot, and simmered it from early morning til late afternoon. I used a whole bag of charcoal in the process.

   This was the dye pot that was full to the top with water and hulls, nuts

Above pot got poured into this pot and then filled it 3/4 full with added water


The level of water went down a little more after this photo-took it down to half of what I had to start with


I totally forgot to take a photo of the strainer set up. In one of my garage sale finds I found a commercial size stainless strainer with a long handle and a hook on the opposite side-perfect for dye projects. 


I decided easy to strain off if I squeezed out the nuts and pulp first before adding to the strainer.  I strained it once then 3 times more with cheesecloth.


    Below are the large size Clasico spaghetti jars that I saved over the years. They are a little larger than a quart and they were actually real canning jars at the time. So I didn't feel bad using these jars for this project. 

I filled 4 jars with 2 cups each and 2 jars with 3 cups each of the Black Walnut ink.
  
   After straining I could have boiled down to half again. Some articles did that some did not. 

  I added two whole cloves to each jar. From what I have read and what CJ mentioned too, calligraphers that make their own black walnut nut ink use clove essential oil and I read about whole cloves.  and do not add anything else.
   Many recipes I read add lots of vinegar and salt-no I didn't want to do that.
I did order the wintergreen essential oil to help preserve, so perhaps I may also add that in to one of the jars.
   I had read and also CJ mentioned that mold on the ink is ok, as it is beneficial to the ink and you just easily remove it.


Today was such another warm day that instead of boiling the ink down again, I worked on the rock project. Finally got the stump that was in my way out of there, so now I am bringing up rocks, and am also needing to dig out some of the soil as well.  I wanted to go back out late this afternoon but I am stiff and sore so my body is saying wait til tomorrow. 

Of course I wanted to try out the ink. During my time reading lots of articles online, I ran into one that uses this on watercolor paper for drawing and painting.  So I decided I wanted to try that.

I used a heavy watercolor paper, and added to my painting journal.

    I stamped the leaves, acorn, and squirrel with regular ink, and then the tree I painted on the black walnut and stamped it. With a fine watercolor brush I filled in the stamped images, wrote Fall and made a few curvy lines to hopefully resemble some wind or movement in the leaves.


 I took a photo of the lake out our windows this afternoon. Gorgeous colors this year. Last year they were mostly brown with no pretty fall colors


Thanks for stopping by, and I will share this post over on Art Journal Journey for Chris's theme all kinds of weather.   Fall to me is perfect weather when there is a slight breeze and it rains leaves.

Sunday, November 7, 2021

T Stands for Tuesday & Black Walnut Salve Made & Weaving Update

 T Stands for Tuesday is upon us, so we gather with friends over at Bleubeard and Elizabeth's-to join us just post a drink related photo in your T post.

  Over the weekend we began to warm up a bit in the afternoon, the fall colors are really pretty in my area too. I need to grab my camera and take a few photos while taking a walk which I haven't done in awhile.

  Late Saturday I did make the black walnut salve, and I ended up making one and half of the recipe I shared a few posts back. I only had about a tablespoon left of the infused oil, so that worked out really nice. I still have a big bag of little jars and lids that I used to use for the butters and hand creams I would make, that felt so good on the skin, especially now as we get into dry skin weather. I need to make some of that next.  I got three little jars from the recipe-will be sharing one with a friend.

  This is the jar of the black walnut hulls infusing in olive oil and coconut oil for a week.


  She mentioned you could make the recipe right away or wait 6-7 days. The extra days helps to get more benefit from the black walnut hulls.

   Today I followed the recipe and heated up the strained oil with the beeswax pastilles til melted in the oil  and again just heat the water no bubbles or it will be too hot.

    Strained oil on the right these two canning jars will now be designated for craft only useage


Once the beeswax is all melted-take off the heat, and following recipe add in the clove essential oil and lavender essential oil. I also added a few drops of Vit E as well


Since I used mostly olive oil the slave is more green in color I used an extra virgin organic robust olive oil, along with coconut oil.


and since I will be sharing one, I stamped up an information card, and also labeled all three jars. very pleased with the results and these are fun to make


  Friday late I finished up with dressing the loom. It is all ready for weaving now. If I hadn't been so tired I would have started to weave as I am anxious to see the pattern.

   Starting to tie warp on to the front


Finished


One last thing needed to be done-change up these according to the pattern My loom has 4 shafts and each pedal is set up so I can change according to the pattern


Below is the pattern to the far right-where those little circles are-you can see how I have matched those up to above photo (the numbers to the left of this is the pattern for threading all those threads)  Below that box with the circles is the pattern for the pedals while weaving


  Sunday I did grab the camera and took a short walk around where I live-it warmed up to the low 70's f-that was awesome-same for Monday I only walked around half the circle as there is a very very steep hill to go down or up-with my knees decided not to do that.

    I also got one of my dye pans out and filled it up with walnut hulls, some whole nuts with the hulls dried on-and will let it soak 24 hours. Tomorrow I will set up one of the weber grills to simmer this down into ink. Need to take advantage of these few warm days. Still no hard freeze  here as of yet.


This last photo is our home Our little area of the lake is very pretty this time of year-and quiet-not many boats, as most have already winterized their boats by now.
   and Larry heard loons on the lake over the weekend-I was so excited to see them last winter.
  Those bare trees below are the black walnut trees-we have several small ones. The nut trees always lose their leaves first, and I think most of the nuts are down now


For my drink share I grabbed a pretty little handmade pottery cup, made by one our favorite potterers back before retirement


Happy T and New Week  

     and a quick little update-gorgeous day today (Monday) so I set up the large Weber to boil down the black walnuts that were soaking overnite. Around 3 in the afternoon, I took the pot off the Weber-since it's heavy, put the lid on and will let it sit overnite-needs to cool down. Tomorrow I can begin straining and see how it looks.

    I re read some more posts about making this ink-and so many similar but different methods. I will see what it looks like after strained to see if I should boil down anymore. In the mail today I did get the hide glue that is suppose to help thicken the ink it's what was done early on. I also read last night that a few drops of wintergreen essential oil will prevent molding or to add a clove to each bottle. I do have whole cloves, and I just ordered the wintergreen eo

   Or some say to refrigerate. Or some say vinegar and salt which I don't want to do, and some say they never had an issue with molding. 😀

Stay tuned for an update on the ink project.